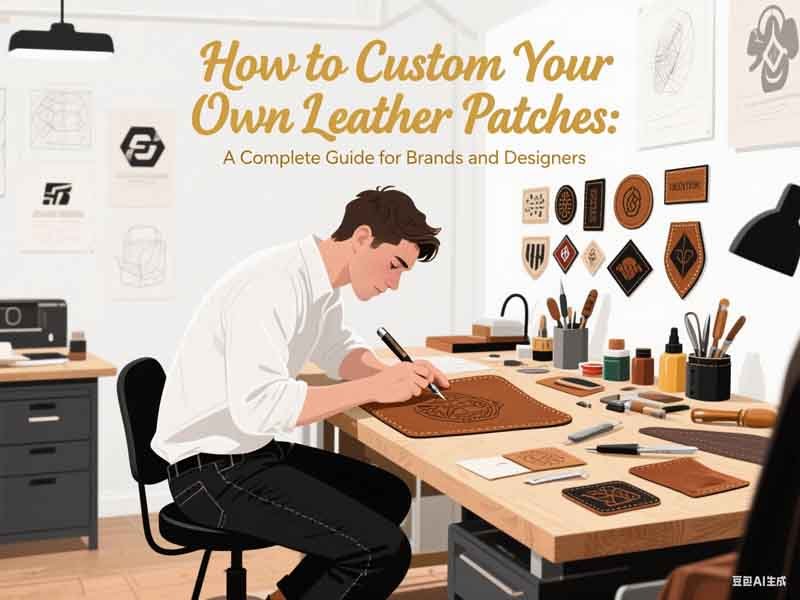
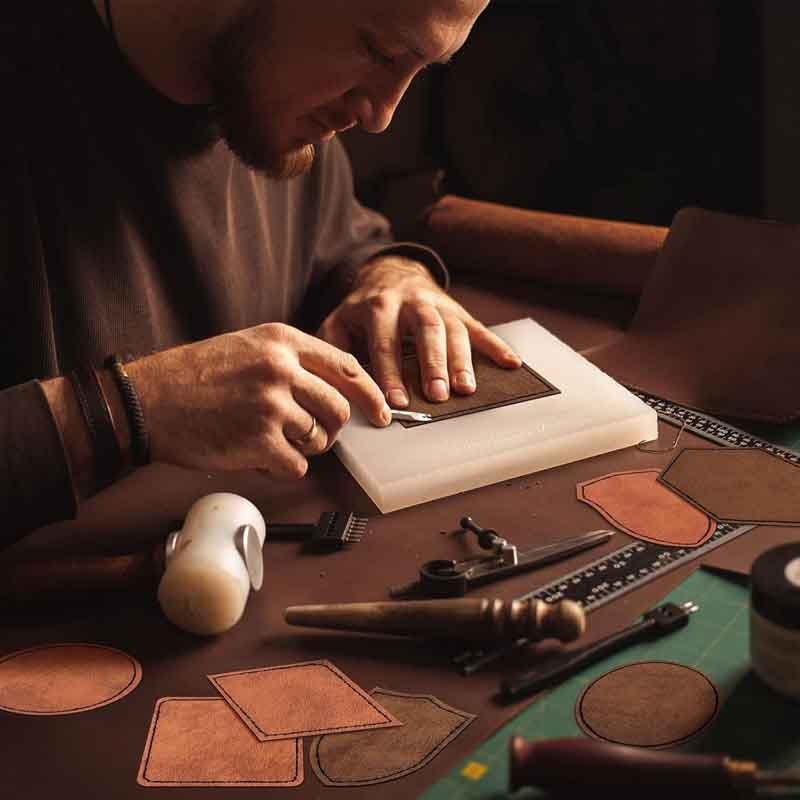
Ever scrolled through Instagram and spotted a denim jacket adorned with a perfectly embossed leather patch and thought, “I want that for my brand”? Custom leather patches are the secret sauce that elevates everything from hats and bags to uniforms and home décor. They add a touch of sophistication, brand identity, and tactile appeal that printed labels simply can’t match.
Custom leather patches are small, bespoke pieces of leather stamped, embossed, or printed with your design, then affixed to garments, accessories, or gear. They let brands showcase logos, slogans, or artwork in a durable, high-end format that withstands wear and washing. With options spanning veg-tanned aniline to pigmented faux grain, patches can be tailored for any aesthetic and application.
Ready to discover how to bring your patch ideas to life—from initial design to factory delivery? Let me share the story of a startup that boosted sales 50% by swapping woven labels for custom leather patches…
What Are Custom Leather Patches?
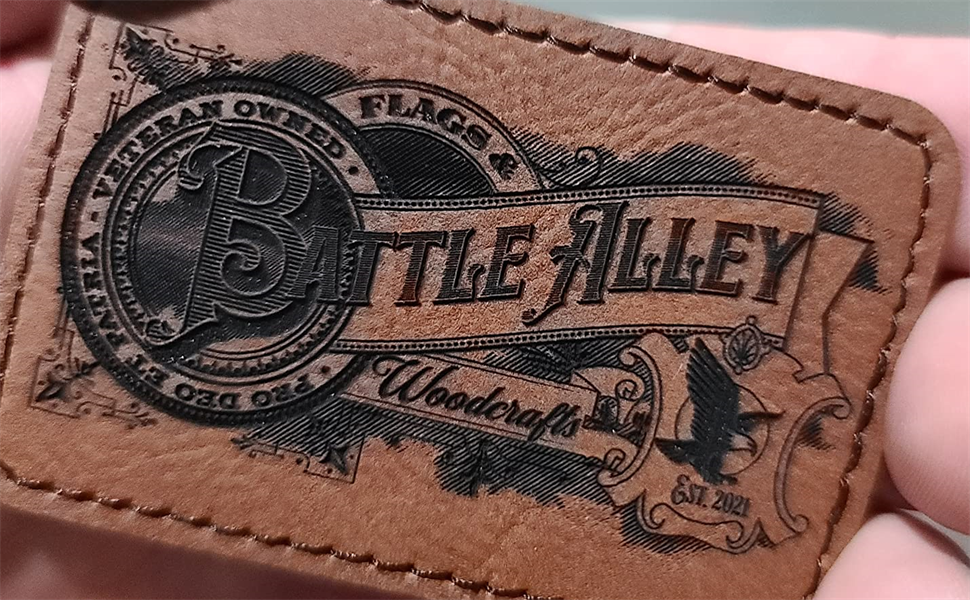
Custom leather patches are tailor-made emblems cut from genuine or faux leather, stamped or printed with logos, text, or artwork, then affixed to garments, bags, and gear. Brands choose them for their tactile appeal, durability, and premium perception—patches resist fraying and fading better than fabric labels and convey a handcrafted feel that resonates with customers.
Custom leather patches transform ordinary products into memorable experiences. Instead of a flat, printed tag, your logo rises or recedes into rich leather, creating shadows and textures that catch the eye. This added dimension not only differentiates your brand but also taps into consumers’ desire for handcrafted authenticity.
Brand Identity & Storytelling
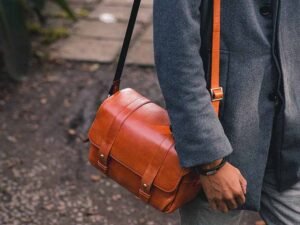
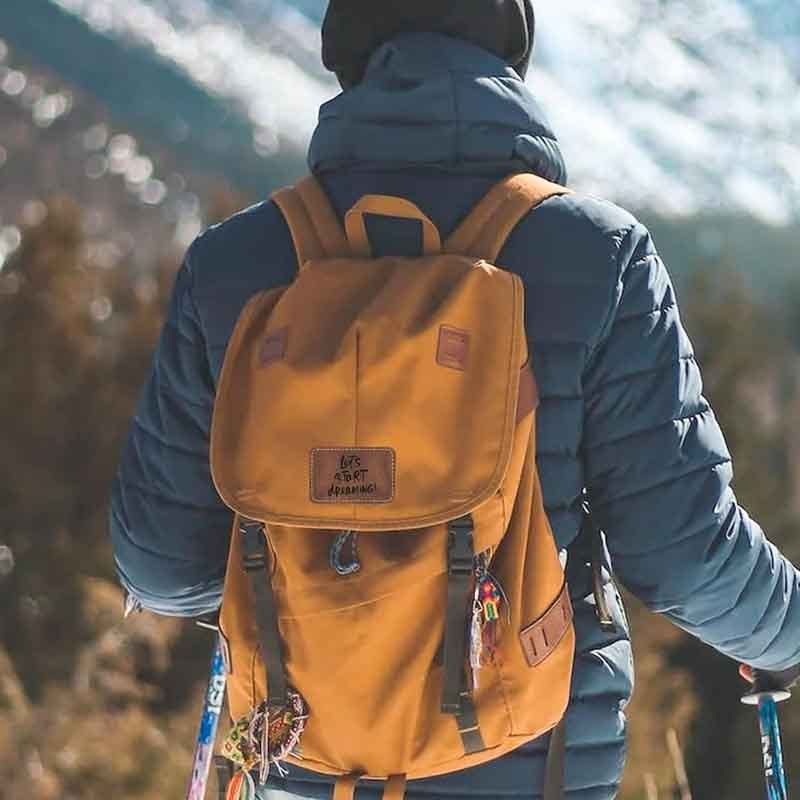
A leather patch can tell your story. Imagine a hiking backpack with a waxed-leather patch bearing mountain silhouettes—instantly, buyers feel connection to adventure and quality. Brands like Filson and Patagonia leverage leather accents to underscore heritage and ruggedness, making every product feel curated.
Practical Durability
Leather patches outlast woven and printed labels. In abrasion tests (Taber CS-10 wheel), premium full-grain leather withstands 1,200–1,500 cycles before wear-through, whereas fabric labels often fail under 600 cycles. UV-stable dyes and pigmented finishes resist sun fading, ensuring logos stay crisp even after months outdoors.
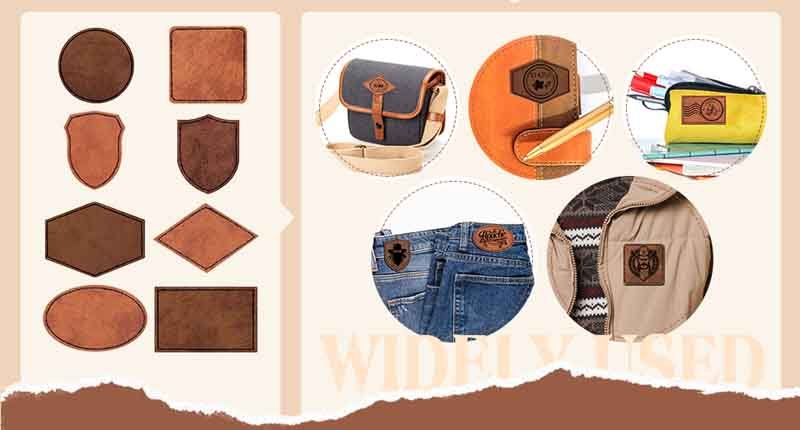
Versatility Across Products
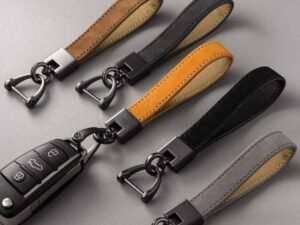
Beyond jackets and bags, patches adorn hats, phone cases, notebooks, and pet collars. They scale from small runs (50–100 units) to mass orders (10,000+). Techniques range from classic debossing to full-color digital printing on synthetic leathers. You can even combine materials—leather on neoprene for tech sleeves, or suede on canvas for fashion-forward looks.
How Do You Design Your Own Leather Patch?
Designing a leather patch begins with crisp vector artwork (AI, EPS, or SVG), specifying line weights (≥0.5 mm), dimensions (2″–4″ typical), and shape. Choose finishes—aniline for natural grain, pigmented for uniform color—and attachment style (sew, adhesive, rivet). Prototyping with physical samples ensures emboss depth, edge finishes, and color accuracy before full production.
Creating an effective leather patch design blends artistry with technical precision. Here’s how to ensure your vision translates flawlessly from screen to hide.
1. Artwork Preparation
Start with vector files (.AI, .SVG, .EPS). Vectors scale without pixels, critical for crisp embossing. Maintain minimum line widths of 0.5 mm to guarantee the die or laser distinguishes between raised and recessed areas. For color fills—used in printed or ink-filled debossing—specify Pantone or CMYK references to avoid surprises.
2. Size & Shape Considerations
Common patch sizes run 2″×2″ up to 4″×3″, but custom silhouettes (animal outlines, brand icons) require die-cut shapes. Thicker leather (2.5–3 mm) holds complex embossing better; thinner leather (1.5 mm) wraps smoothly around curved surfaces like caps.
3. Finish Selection
- Aniline: Transparent dye reveals full grain; offers soft hand but less surface protection—ideal for indoor or light-use items.
- Semi-Aniline: Light pigment with clear topcoat—balances grain visibility and stain resistance.
- Pigmented: Opaque color, embossed grain patterns, best for outdoor gear—high UV and abrasion resistance.
4. Edge Treatments
Edges can be left raw for rustic appeal, painted for color pop, or burnished for smooth, rounded finishes. Raw edges cost nothing extra but may belt-fuzz over time; burnishing (+$0.10–$0.30/patch) seals fibers and adds polish.
5. Prototyping & Samples
Never skip samples. Factories typically charge 1.5× unit cost for 2–3 prototypes, but the benefits far outweigh fees. Evaluate emboss depth (≥0.3 mm for longevity), edge uniformity, and color match under natural light. Use these insights to tweak design files before committing to bulk.
Which Types of Leather and Finishes Are Available for Patches?
Leather patches can be crafted from full-grain, top-grain, split-grain (suede), or synthetic (PU) leathers. Full-grain offers unmatched durability and patina; top-grain balances cost and consistency; suede delivers a soft nap; PU mimics leather affordably. Finishes include aniline, semi-aniline, pigmented, waxed, and embossed textures—each impacting appearance, feel, and performance.
Selecting the right leather and finish ensures your patches look great and perform in their intended environment.
| Leather Type | Grain | Durability | Typical Use | Cost/patch (USD) |
|---|---|---|---|---|
| Full-Grain | Natural, unaltered | Very high | Luxury apparel, backpacks | $3.50–$5.00 |
| Top-Grain | Sanded, uniform | High | Mid-range bags, hats | $2.50–$4.00 |
| Split-Grain | Fibrous underside | Medium | Suede accents, linings | $2.00–$3.50 |
| PU Leather | Synthetic, embossed | Variable | Promo items, budget lines | $1.50–$2.50 |
Finish Options
- Aniline: Transparent dye enhances natural grain; soft touch but less stain protection.
- Semi-Aniline: Light pigment + clear coat; good balance of appearance and resilience.
- Pigmented: Solid color, embossed grain; top-tier abrasion and UV resistance.
- Waxed: Oiled or waxed surface repels water, develops a “pull-up” effect (lightens when flexed).
- Embossed: Imprinted textures (pebble, croc) on hides or PU; adds visual interest.
Eco & Vegan Considerations
- Vegetable-Tanned: Biodegradable, uses natural tannins; limited color range, firmer feel.
- Eco-PU: Water-based binder, lower VOCs; suits vegan branding.
How Are Custom Leather Patches Manufactured?
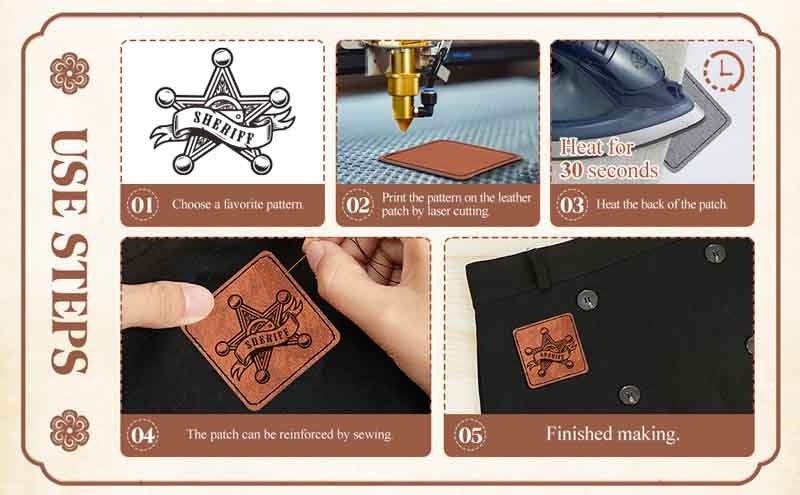
Leather patches are produced by cutting blanks—via die-cutting for large runs or laser-cutting for intricate shapes—then embossing or printing designs, finishing edges (burnishing or painting), and adding attachment features (adhesive backing, sewing holes, rivets). CNC machines and presses ensure consistency, while skilled artisans handle quality-critical steps.
The manufacturing journey blends precision machinery with hands-on expertise:
1. Cutting Techniques
- Die-Cutting: Custom steel-rule dies cut leather in bulk. Cost-effective for volumes >500 but requires 1–2 week lead for die fabrication ($80–$150).
- Laser-Cutting: High-precision, ideal for small batches or complex silhouettes; tool cost lower ($50–$100 programming) but slower per-piece throughput.
2. Design Application
- Embossing (Raised): Heavy hydraulic press stamps the logo upward. Best on hides ≥2.5 mm.
- Debossing (Recessed): Presses design into the hide for a subtle, elegant look.
- Screen Printing: Multi-color pigment inks applied via screens—great for flat pigmented leathers.
- Digital Printing: UV or dye-sublimation prints full-color images—mainly on PU or specially pretreated aniline hides.
3. Edge & Surface Finishing
- Burnishing: Heat and friction smooth edges, rounding fibers—common on high-end patches.
- Edge Painting: Liquid PU or acrylic coats seal and color-match edges—adds durability at +$0.15–$0.30/patch.
4. Attachment Preparation
- Adhesive Backing: Hot-melt or pressure-sensitive adhesives apply for iron-on or stick-on patches.
- Sewing Holes/Slots: Pre-punched holes ensure consistent stitch spacing.
- Rivets/Snaps: Metal hardware offers industrial strength—perfect for leather belts or heavy canvas.
5. Quality Control & Packaging
Szoneier’s 5-point QC inspects shape accuracy (±0.5 mm), emboss depth (≥0.3 mm), color consistency (ΔE < 2), edge finish, and adhesive adhesion. Patches ship in moisture-resistant pouches with desiccants to maintain leather condition.
What Attachment Methods Can You Choose for Leather Patches?
Leather patches attach via sewing (straight, zigzag, or invisible stitch), iron-on adhesives (heat-activated), peel-and-stick PSA, rivets/snaps, or hook-and-loop (Velcro). Sewing and rivets provide maximum durability for heavy-use gear; adhesives and PSA enable fast, tool-free application on flat fabrics; Velcro allows removability and customization.
Selecting the right attachment method ensures your patches remain secure and suit the product’s functionality.
1. Sewing
- Straight Stitch: Clean, secure perimeter attachment; minimal bulk.
- Zigzag Stitch: Wider coverage, resists edge fraying—ideal for backpacks, jackets.
- Invisible Stitch: Hidden beneath edge; elegant on luxury handbags.
2. Iron-On / Heat-Activated Adhesive
Heat-activated glue layer bonds to fabrics at 160–180 °C for 10–15 s. Fast for cotton and polyester blends but may peel on nylon or high-stretch textiles. Not recommended on leather or delicate synthetics.
3. Peel-and-Stick PSA
Double-sided adhesive film offers instant bonding—best for promotional items or short-term use. Withstands 3–5 washes before peeling; low cost (+$0.20/patch).
4. Rivets & Snaps
Metal studs pierce patch and substrate, locking securely. Favored on denim, leather, and canvas. Adds industrial flair and near-indestructible hold.
5. Hook-and-Loop (Velcro)
Attach loop side to garment and hook side to patch (or vice versa). Enables removable patches—popular in military, uniform, and customizable apparel.
| Method | Durability | Flexibility | Ease | Best For |
|---|---|---|---|---|
| Sewing | Very High | Medium | Moderate | All fabrics, leather |
| Iron-On Adhesive | Medium | High | Easy | Cotton/poly blends |
| Peel-and-Stick PSA | Low | High | Very Easy | Flat, promotional gear |
| Rivets/Snaps | Very High | Low | Moderate | Leather, denim, canvas |
| Hook-and-Loop Velcro | High (reusable) | High | Easy | Uniforms, tech gear |
Are Custom Leather Patches Durable and Long-Lasting?
High-quality leather patches—especially full-grain or pigmented top-grain with sealed edges—resist abrasion (1,200+ Taber cycles), UV fading (ΔE < 3 after 200 hrs), and laundering when sewn or riveted. Properly finished edges and deep embossing (≥0.3 mm) ensure logos remain distinct, while waxed finishes repel water, making patches ideal for heavy-use apparel and gear.
Durability defines a patch’s value. Let’s examine why leather patches outlast alternatives and how manufacturing choices reinforce longevity.
1. Material & Finish Impact
- Full-Grain vs. Split: Full-grain delivers superior tear strength (20–25 MPa) and abrasion resistance (1,200–1,500 cycles). Split layers fare poorer (<800 cycles).
- Pigmented Coats: Opaque finishes shield against sun and stains; waxed treatments repel water and scratches while developing unique patina.
2. Edge Treatments & Emboss Depth
- Burnished/Sealed Edges: Prevent fiber fraying and moisture ingress—critical for outdoor use. Hand-burnished edges outperform machine finishes in uniformity and resilience.
- Emboss/ Deboss Depth: A minimum of 0.3 mm ensures the design remains legible after friction; shallower presses risk flattening over time.
3. Attachment Method Reliability
- Sewing & Rivets: Mechanical bonds resist wash cycles and physical stress, ensuring patches don’t peel or shift. Iron-on patches often loosen after 5–10 washes.
- Velcro Maintenance: Loop side gathers lint, reducing adhesion; periodic cleaning restores performance.
Test Data
| Test | Standard | Leather Patch Result | Fabric Label Result |
|---|---|---|---|
| Abrasion Resistance | Taber CS-10 wheel | 1,200–1,500 cycles | 400–600 cycles |
| UV Color Fastness | ASTM D4303 | ΔE < 3 after 200 hrs | ΔE > 5 |
| Wash Durability (sewn) | 10 cycles, ASTM D5046 | No delamination | Fraying & fading |
| Water Resistance (waxed) | AATCC 22 spray test | Class 4 (no wetting) | Class 1–2 (heavy wet) |
How Much Do Custom Leather Patches Cost and What Affects Pricing?
Custom leather patches cost $1.50–$5.00 each, influenced by leather grade (PU vs. full-grain), finish (aniline vs. pigmented), size, shape complexity, attachment method, edge treatment, and order volume. Larger orders (1,000+ units) enjoy 15–25% discounts, while tooling fees ($80–$150) apply for unique dies. Rush production and premium finishes add surcharges of 10–20%.
Understanding cost drivers lets you budget effectively and negotiate with factories.
1. Leather & Finish Premiums
| Leather Grade | Finish Type | Cost Impact |
|---|---|---|
| Full-Grain | Aniline | +$1.00–$1.50 |
| Top-Grain | Pigmented | +$0.50–$1.00 |
| Split (Suede) | Napped | +$0.30–$0.80 |
| PU Leather | Embossed | Base cost |
Full-grain aniline patches are at the top of the price spectrum due to hide quality and minimal processing. PU leather is budget-friendly but lacks natural aging.
2. Size, Shape & Tooling
- Standard Rectangle (2″×3″): Baseline.
- Custom Die-Cut: Unique shapes require a one-time die fee ($80–$150) and add $0.20–$0.50 per patch.
- Large Patches (>4″): More leather area adds $0.10–$0.30 per additional square inch.
3. Attachment & Edge Treatments
| Feature | Additional Cost |
|---|---|
| Heat-Activated Glue | +$0.30–$0.50 |
| Peel-and-Stick PSA | +$0.20 |
| Rivets/Snaps | +$0.40–$0.70 |
| Machine Burnish | +$0.10 |
| Hand Burnish | +$0.30 |
| Edge Paint Coat | +$0.15 |
Mechanical attachments (rivets, sewing) cost more but deliver longevity compared to adhesives.
4. Order Volume & Lead Time
| Quantity Range | Unit Price Discount |
|---|---|
| 50–99 | None |
| 100–499 | 5–10% |
| 500–999 | 10–15% |
| 1,000+ | 15–25% |
Rush orders (<2 weeks) carry a 10–20% surcharge. Standard production (3–4 weeks) avoids added fees.
How Can You Apply and Care for Leather Patches on Different Materials?
Apply patches by sewing on denim, canvas, or leather; iron-on adhesives work on cotton/poly blends; peel-and-stick suits smooth surfaces; rivets secure to heavy textiles; Velcro enables removability. To care, spot-clean with damp cloth, avoid bleach and heat drying, condition leather patches every 6–12 months, and store items in cool, dry spaces to prevent mold and preserve shape.
Proper application and maintenance maximize patch lifespan and appearance:
1. Denim & Canvas
- Attachment: Straight or zigzag sewing; rivets for heavy-use gear.
- Care: Machine wash inside out on cold, gentle cycle; air-dry flat; apply leather balm sparingly to patch every 6 months.
2. Leather Garments
- Attachment: Sewing with bonded nylon or polyester thread; adhesives can slip on oily leather.
- Care: Wipe with damp microfiber; use wax-based conditioner to maintain patch suppleness; avoid submersion.
3. Cotton/Polyester Blends
- Attachment: Iron-on or PSA adhesives—temperature at 160–180 °C for 12 s. Sewing adds strength but risks puckering if not stabilized.
- Care: Mild detergent, cold wash; skip bleach; air-dry to protect patch.
4. Technical Fabrics (Nylon, Ripstop)
- Attachment: Rivets or hook-and-loop systems; adhesives often fail on low-porosity synthetics.
- Care: Spot-clean with mild soap; no high-heat dryers that can degrade adhesives.
5. Specialty Surfaces (Boxes, PVC, Wood)
- Attachment: Peel-and-stick adhesives or small screws/brads for boxes; heat-activated adhesives for smooth PVC.
- Care: Dust regularly; wipe clean; avoid direct sunlight to prevent fading or cracking.
Storage & Long-Term Care
- Store patched items in breathable cotton bags.
- Hang or lay flat—don’t fold through patch area.
- Detach Velcro patches before washing to preserve hook integrity.
How Do You Place a Custom Leather Patch Order with a Factory?
To place a custom leather patch order, start by submitting vector artwork (AI, EPS, SVG) along with specifications—patch size, shape, leather grade, finish, edge treatment, and attachment method. Request a detailed quotation that breaks down unit costs, tooling fees, and lead times. Approve prototypes or samples, then confirm tooling (dies or laser programming) and production schedule. Finally, agree on packaging, shipping terms (FOB or DDP), and payment milestones to ensure a smooth, transparent process.
Placing an order with a leather patch factory involves clear communication, defined specifications, and milestone approvals. Here’s a step-by-step look at what the process typically entails:
1. Initial Inquiry & Specification Submission
Begin by providing your factory partner with:
- Artwork Files: High-resolution vector files in AI, EPS, or SVG format. Include clear dielines and indicate emboss/deboss areas.
- Technical Specs: Patch dimensions (e.g., 3″×2″), thickness (1.5–3 mm), leather type (full-grain, top-grain, PU), finish (aniline, pigmented, waxed), edge treatment (raw cut, burnished, painted), and attachment preference (sew-on, iron-on, rivets, Velcro).
- Quantity & Timeline: Initial order volume and desired delivery date. This lets the factory calculate MOQ requirements and realistic lead times (typically 15–20 business days post-sample approval).
2. Quotation & Tooling Fees
The factory will issue a comprehensive quote detailing:
| Item | Typical Cost (USD) | Notes |
|---|---|---|
| Unit Price | $1.50–$5.00 per patch | Varies by leather grade, finish, and size |
| Die Fabrication | $80–$150 one-time | Steel-rule die for bulk runs (>500 units) |
| Laser Programming | $50–$100 one-time | Preferred for small batches or intricate shapes |
| Prototype Samples | 1.5× unit cost | Usually 2–3 samples for design verification |
| Rush Production Surcharge | +10–20% | If lead time <2 weeks |
Tooling fees are one-time investments that enable precise die-cutting or laser paths; they’re amortized over future reorders.
3. Sample Approval Phase
Once tooling is complete, the factory produces 2–3 prototype samples:
- Quality Checks: Verify emboss depth (≥0.3 mm), edge finish uniformity, color accuracy (ΔE <2), and overall feel.
- Feedback Loop: Provide consolidated feedback—adjust emboss pressure, switch finish type, or tweak edge paint color before full production.
4. Production & Quality Control
Following sample sign-off:
- Full Run: The factory executes die-cutting/laser-cutting, embossing/printing, edge finishing, and attachment-prep.
- In-Line QC: Inspect 20% of patches during production for dimensional accuracy (±0.5 mm) and imprint consistency.
- Final Inspection: 100% check of critical attributes—emboss depth, color match, adhesion strength—before packaging.
5. Packaging, Shipping & Reorders
- Packaging Options: Individual poly bags with desiccant, bulk trays, or custom boxes.
- Shipping Terms: FOB Shenzhen for cost control or DDP to your warehouse to eliminate customs hassles.
- Reordering Flexibility: After the first run (MOQ 100 units), reorders can drop to 50 units, with unit prices decreasing up to 25% at volumes above 1,000 pieces.
By following these steps—and partnering with a factory like Szoneier Leather, which holds ISO 9001 and LWG certifications—you ensure that your custom leather patches meet both your design vision and quality standards.
Conclusion & Inquiry
Custom leather patches are a powerful branding tool—combining tactile appeal, durability, and premium perception to elevate any product. From design nuances and material choices to manufacturing techniques and attachment methods, this guide equips you to make informed decisions at every step.
Ready to bring your own leather patches to life? Contact Szoneier Leather,Request your personalized quote today and transform your brand with bespoke leather craftsmanship.